If you’re looking to grow your own pumpkins for Halloween, you’re in luck! Pumpkins are surprisingly easy to cultivate, and with the right care, you can grow the perfect Jack-o’-lantern just in time for the spooky season. Whether you’re a seasoned gardener or just starting out, following these simple steps will help ensure a bountiful harvest.
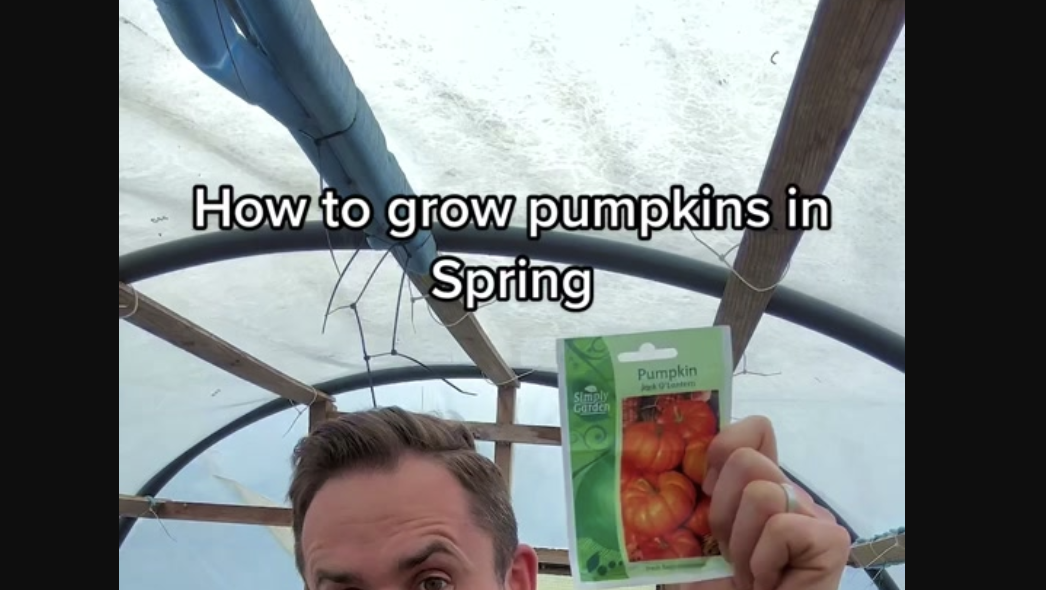
@themediterraneangardener If you want to grow a jack-o-lantern pumpkin ready for halloween, spring is the perfect time to get them going. They can be stored for months, cooked in a variety of ways or decorated making pumpkins a versatile addition to the garden. They might not sprout if planted incorrectly, so this is how to get them going The seeds need to be planted on edge. Don’t plant the seed flat, as water can puddle on the surface and it could rot. germinating. Instead pant it on the side allowing water to drain. Place pots on a warm windowsill or green house, water well and transplant into larger pots when large enough to handle and plant outside when all risk of frost has passed. When the fruits start to swell, gently lift them onto bricks so they ripen off the soil. Harvest when the stem connecting the fruit to the plant begins to crack. #pumpkins#gardening#growyourownfood#gardentok#organicfood♬ original sound – Michael – Gardening tips
1. Starting the Seeds Indoors
One of the best ways to give your pumpkins a head start is to plant the seeds indoors before transferring them to the garden. This can be done in early spring to ensure your pumpkins are ready by Halloween. Here’s how:
• Choose your seeds: Select seeds that match the type of pumpkins you want to grow. For large Halloween-style Jack-o’-lanterns, look for varieties like “Atlantic Giant” or “Big Max.”
• Prepare your pots: Use small pots or seed trays to start the seeds. Fill them with a well-draining potting mix, and make sure they have good access to sunlight.
• Warmth is key: Place the pots on a warm windowsill or in a greenhouse to encourage growth. Pumpkins need warmth to germinate, so avoid cold areas or drafts.
2. Planting the Seeds
Pumpkin seeds are flat, and how you plant them matters to ensure proper germination. Here’s the trick:
• Plant on the side: Instead of planting the seed flat, plant it on its side. This allows water to drain more effectively and prevents the seed from sitting in a puddle of water, which could cause it to rot. Planting it on the edge also encourages better sprouting.
• Watering tips: Water the seeds well, but don’t overdo it. Make sure the soil is moist but not soggy. Proper drainage is important to prevent water from pooling and potentially rotting the seed.
3. Transplanting the Seedlings Outdoors
Once the threat of frost has passed, it’s time to transfer your pumpkin seedlings outdoors. The best time to do this is in late spring, when the soil has warmed up. Here’s how:
• Find the right spot: Pumpkins love sunlight, so choose a sunny spot in your garden. Make sure there’s plenty of space for the vines to spread out, as pumpkins can take up a lot of room.
• Prepare the soil: Pumpkins thrive in nutrient-rich soil, so mix in compost or organic matter before planting. This will give the plants the nutrients they need to grow big and strong.
• Plant with care: Transplant the seedlings by carefully removing them from the pots and placing them in small holes in the ground. Be sure to water well after planting to help the seedlings settle in.
4. Caring for Your Pumpkins
Once your pumpkins are in the ground, they need consistent care to ensure a healthy harvest. Here are a few tips:
• Water regularly: Pumpkins need plenty of water, especially as they start to grow larger. Water at the base of the plant, avoiding the leaves to prevent mildew.
• Watch for pests: Keep an eye out for common pests like squash bugs and aphids. Use organic pest control methods to keep your pumpkins healthy without harming the environment.
• Mulch for moisture: Mulching around the plants can help retain moisture and prevent weeds from competing with your pumpkins for nutrients.
5. Harvesting Your Pumpkins
As the pumpkins grow and ripen, they’ll develop that iconic orange color we associate with Halloween. You can tell a pumpkin is ready to harvest when the skin is firm and the stem begins to dry out. Here’s how to harvest:
• Cut, don’t pull: Use a sharp knife or garden shears to cut the pumpkin from the vine, leaving a few inches of stem attached. Pulling the pumpkin can damage the vine or the fruit.
• Store for later: Pumpkins can be stored for months in a cool, dry place. If you’re growing them for Halloween, you can store them until you’re ready to carve them into Jack-o’-lanterns.
Final Thoughts
Growing your own pumpkins is a rewarding and fun way to celebrate the Halloween season. Not only can you carve them into spooky decorations, but they can also be cooked into delicious treats like pies, soups, or roasted seeds. With a little care and attention, you’ll have your very own homegrown pumpkins to enjoy come October!
Happy growing, and may your garden be full of massive, vibrant pumpkins!
place the pots on a warm windowsill or greenhouse, water well by that, I mean you don’t want to leave the seed flat is the plant them on edge they might not sprout if planted incorrectly so this is how to get them going the trick to growing pumpkins or any seeds that are really flat and plant out after the risk of frost is passed spring is the perfect time to get them going instead plant it on the side allowing water to drain making pumpkins a versatile addition to the garden as water can puddle on the surface and it could rot if you want to grow a massive Jack o lantern pumpkin ready in time for Halloween they can be stored for months, cooked in a variety of ways, or decorated